
SupportCandy is a powerful WordPress support plugin that can help you to improve your customer support. You can effortlessly create and handle support tickets thanks to its extensive ticketing system. Additionally, SupportCandy integrates with a well-known knowledge base and FAQ plugins so you can give your clients the details they require to solve their problems quickly and easily.
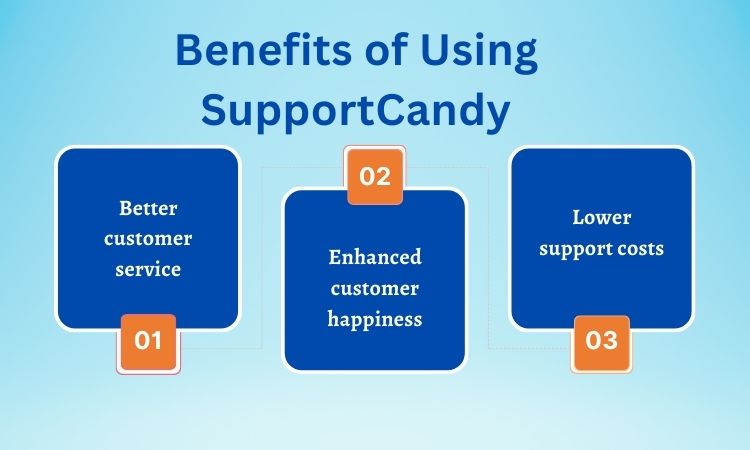
SupportCandy wordpress plugin can assist you in providing better customer service by offering a centralized system for ticket management. You’ll be able to track client issues more effectively and offer quicker and more effective service.
By offering a more individualized and responsive support experience, SupportCandy can assist you in enhancing customer satisfaction. This can promote repeat business and increase customer loyalty.
By offering a more effective and efficient approach to managing customer assistance, SupportCandy can assist you in lowering support costs. By doing this, you can free up time and resources to concentrate on other aspects of your company.
There are a lot more benefits of using SupportCandy for your wordpress plugin. If you are looking for a way to improve your customer support, SupportCandy is a great option. It is a powerful and easy-to-use plugin that can help you to provide your customers with the support they need.
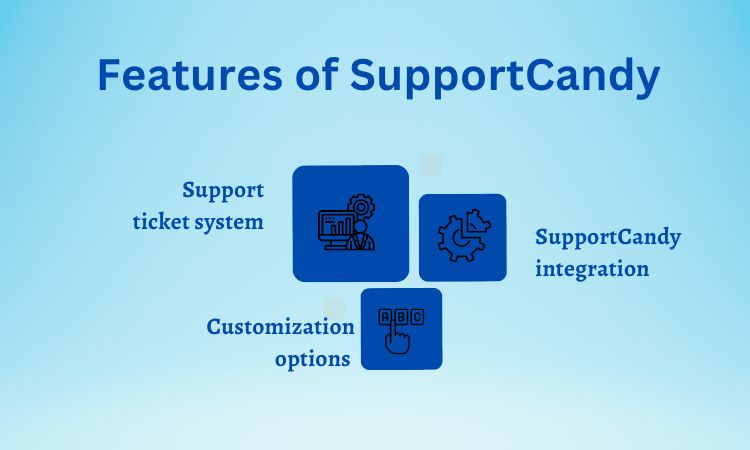
SupportCandy provides a comprehensive support ticket system that allows you to easily create and manage support tickets. You can add comments to tickets, assign them to agents, and keep track of their status.
SupportCandy integrates with a well-known knowledge base and FAQ plugins so you can give your customers the information they need to solve their problems quickly and easily.
SupportCandy offers a number of customization options, so you can tailor the plugin to the needs of your business. You can change the look and feel of the plugin, and you can add your own branding.
If you are looking for a powerful and easy-to-use WordPress support plug in that can help you to improve your customer support, SupportCandy is a great option. You can easily set up and configure SupportCandy on your WordPress website with this SupportCandy setup guide.
Before you can integrate SupportCandy with your WordPress website, you will need to:
SupportCandy has specific system requirements that your WordPress website must meet in order to use the plugin. These requirements include:
If your WordPress website does not meet these system requirements, you will need to upgrade your WordPress installation, PHP, or MySQL before you can install and use SupportCandy.
You can install and activate the SupportCandy plugin from the WordPress dashboard. To do this, follow these steps:
Once the SupportCandy plugin is installed and activated, you will be able to configure the plugin settings and start using SupportCandy to manage your customer support tickets.
Here are some additional tips for preparing for SupportCandy integration:
SupportCandy integration:
Configuring SupportCandy Settings
You must set up the SupportCandy plugin’s settings after you’ve installed and activated it. You can accomplish this by using the WordPress dashboard to access the SupportCandy dashboard.
You can customize a number of settings on the SupportCandy dashboard, including:
General preferences
• API key: You will connect to the SupportCandy service using this API key. Your API key is available on the SupportCandy website.
• Email address: Notifications regarding support tickets will be sent to this email address.
• Reply-to email address: For support tickets, this is the email address that will be used as the reply-to address.Time Zone: This is the time zone that will be used for support tickets.
Language: This is the language that will be used for support tickets.
Ticket settings
Knowledgebase settings
Appearance settings
Once you have configured the SupportCandy settings, you can start using SupportCandy to manage your customer support tickets.
Here are some additional tips for configuring SupportCandy settings:
Integrating SupportCandy Features
Once you have configured the SupportCandy settings, you can start integrating SupportCandy features with your WordPress website.
The SupportCandy plugin includes several features that you can integrate with your WordPress website, including:
Ticketing system
You are able to create and manage support tickets using the SupportCandy ticketing system. You must: in order to integrate the ticketing system with your WordPress website.
1. In the SupportCandy dashboard, enable the ticketing system.
2. Include a ticket submission form on your WordPress website. Use SupportCandy’s support widget or a custom form to accomplish this.
3. Alter the settings for the SupportCandy dashboard’s ticketing system. These options determine how the ticketing system behaves, including how tickets are prioritized and when they automatically expire.
Knowledge Base integration
The SupportCandy knowledge base integration allows you to integrate a knowledge base with your WordPress website. To integrate the knowledge base with your WordPress website, you will need to:
1. In the SupportCandy dashboard, enable the integration with the knowledge base.
2. Include a link to your knowledge base on your WordPress website. Use SupportCandy’s support widget or a custom URL to accomplish this.
3. Modify the SupportCandy dashboard’s knowledge base integration settings. The knowledge base integration’s behaviour is controlled by these options, which include the ticket category that will be utilized for the knowledge base.
Support widget
The SupportCandy support widget allows you to add a support widget to your WordPress website. To add the support widget to your WordPress website, you can use the following steps:
1. Navigate to the Widgets page under Appearance in your WordPress dashboard.
2. To a widget space on your WordPress website, drag the SupportCandy support widget.
3. Set the support widget options. These options determine how the help widget appears, including its position and colour.
Once you have integrated the SupportCandy features with your WordPress website, you can start using SupportCandy to manage your customer support tickets.
Here are some additional tips for integrating SupportCandy features:
Monitoring and Analyzing SupportCandy Performance
Once you have integrated SupportCandy features with your WordPress website, you can monitor and analyze SupportCandy performance.
The SupportCandy dashboard includes a number of reports that you can use to monitor and analyze SupportCandy performance. These reports include:
SupportCandy is a powerful WordPress support plugin that can help you to improve your customer support, increase customer satisfaction, and reduce support costs. By following the steps in this SupportCandy setup guide, you can easily set