No, you can not purchase premium add-ons separately. We encourage you to purchase the bundle because you get up to 80% discount if you would have purchased it individually.
Say goodbye to manual support management and hello to streamlined efficiency. SupportCandy, the leading WordPress support plugin and ticketing system, is here to revolutionize your customer support experience. From intuitive ticket management to seamless communication, it has all the tools you need. Upgrade to SupportCandy and unlock a world of productivity gains for your WordPress ticketing system.

Allows customers and agents to create and reply to tickets directly from their email inboxes.
Unlock the power of automation with SupportCandy workflows, revolutionizing the way you manage your processes.


You can offer and track the time you take to respond to and resolve different types of incoming tickets from customers.
You can create a group of users or companies so that the company’s supervisor can manage all tickets created by the group members.


You can create groups of agents to assign tickets just like individual agents. The supervisor of the group can assign tickets to his team members.
Collect customer feedback and rating for each ticket. This helps you understand how your team performs.


Allows your agents to separately record the time spent on each ticket in the form of a stopwatch.
The productivity suite is a collection of features designed to help agents/users perform various tasks more efficiently and effectively.

Measure and improve the efficiency of your support using our advanced reporting.

Allows your customers to share sensitive information within the ticket so that it is visible to only agents with permission.


Automatically create periodic tickets by setting recurring time and information.
Agents can save their replies which can be accessed in just a few clicks while replying to the tickets.


Automatically close the ticket after x days of inactivity. You can also send an inactivity warning email to the customer before x days of closing the ticket.

Export tickets in CSV format as per the current filter from the ticket list page.

Webhooks deliver real-time notifications, ensuring you stay informed during critical support events, from new ticket creation to closures and agent assignments. Tailor your support experience with dynamic, customizable alerts.


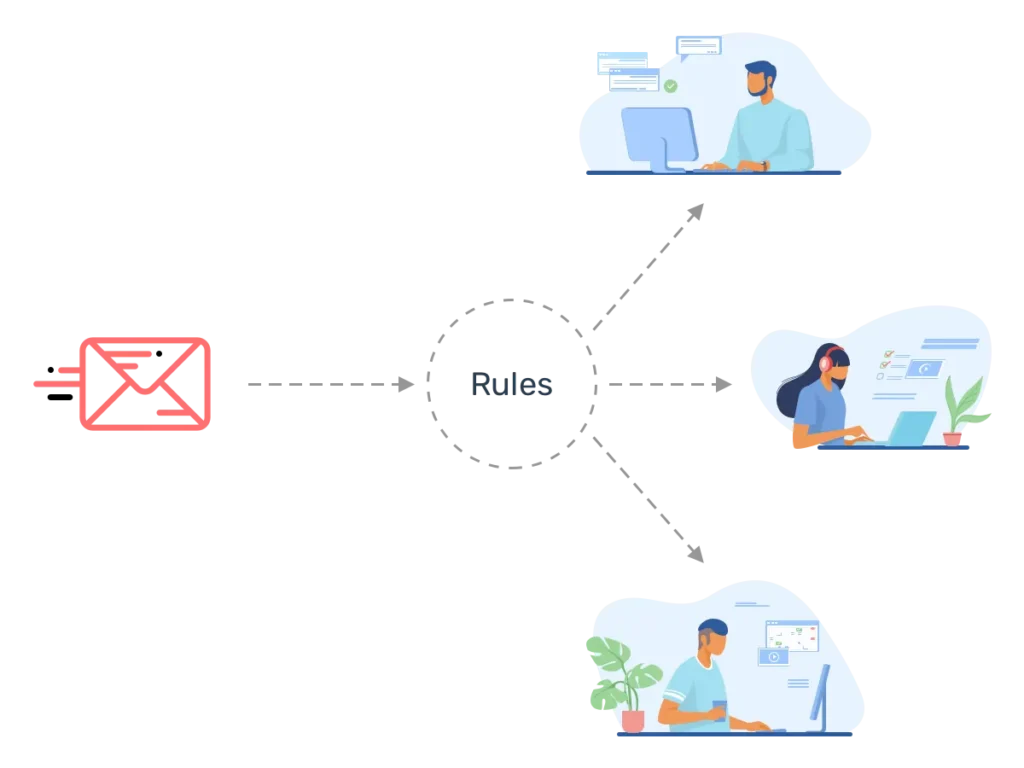
Conditionally assign agents to new tickets automatically using set rules and workload.
To better assist you with any additional questions you may have about this product, we kindly ask that you create a ticket. Rest assured, our team is committed to providing a prompt response within 24 hours, if not sooner.
Extensions makes the work super easy and save a lot of time while working on wordpress. And this makes it very important that you choose a customer support plugin that also offers the best premium extensions. Here we have mentioned some of the biggest advantages that our premium plugins provide better than others in the market.
Can I purchase premium add-ons separately?
No, you can not purchase premium add-ons separately. We encourage you to purchase the bundle because you get up to 80% discount if you would have purchased it individually.
Do you offer a trial?
We don’t offer a trial but we do have a 14 day money back guarantee so you can try add-ons risk-free on your own website. If it does not work what it says in product page, we will respectfully try to help solve the issues or refund.
Do I get updates of the add-ons?
Yes, automatic updates are available free of charge for valid license key. If your license key is expired, updates will not be available.
Can I upgrade my licenses?
Yes, you can upgrade your plans or licenses anytime. Please follow below steps to upgrade:
Do you offer support if I need help?
Yes, support is key for quality product. We do our best to answer your queries and resolve issues as quickly as possible. Support for premium add-ons provided for valid licenses. If your license is expired, support will not be given for premium products.
What happens if I do not renew my license?
License keys are subscription-based and will automatically renew every year. If you decide to cancel, you may still use the addons but you will not receive updates or support once the license key expires.
Unable to update add-ons
Please make sure you have activated licenses in the setting. To check please go to Support > License and verify that the licenses are active. If you are already activated and still having issues please deactivate and reactivate licenses. After that, recheck the issue.
Manually update add-ons
You can manually update add-ons. Please follow the below steps:
Install and activate add-ons
Before installation of add-ons, you need to install and activate the core plugin of SupportCandy from WordPress.org. Click here to download and activate the core plugin.
Install add-ons:
Please follow the below steps to install add-ons:
Activating Add-On License Keys:
Add-ons purchased from this site need to be activated with a license key in order to receive automatic updates via the WordPress dashboard. Your license key should have been emailed to you after purchasing. If you’ve lost your key, you can retrieve it from My Account.
Please follow the below steps to activate add-ons:
How to download the invoice?
You can download an invoice from My Account. Under My Orders click on the Generate Invoice link. Fill in all the information and click on the Save Billing Details & Generate Invoice button.
How do I install an extension purchased from Supportcandy?
To install a purchased extension from SupportCandy, go to your WordPress dashboard, navigate to “Plugins,” click on “Add New,” select the “Upload Plugin” option, and follow the prompts.
Can I install multiple extensions at the same time?
Yes, you can install multiple extensions at the same time, as per your needs.
What happens if I no longer need an extension? Can I uninstall it?
Yes, absolutely. If you ever feel that there is no more need for an extension, you can uninstall it.
Are the extensions compatible with the latest version of SupportCandy?
Yes, the extensions are totally compatible with the latest version of SupportCandy.