
Overview
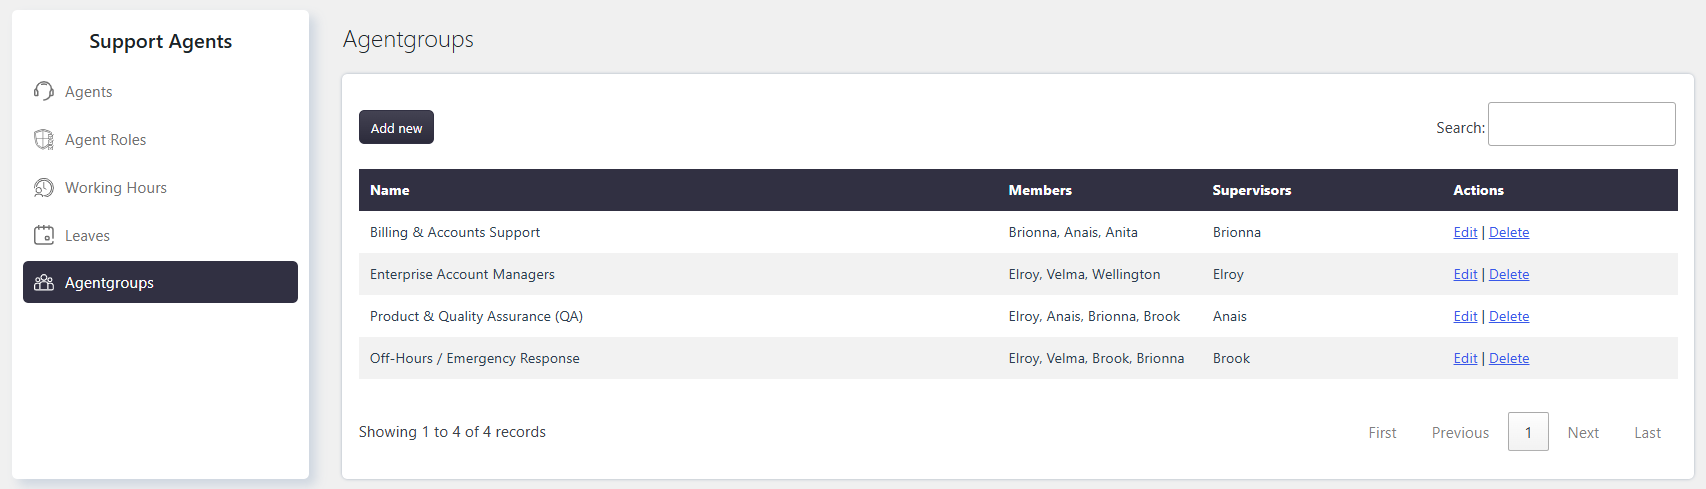
The Add a new group setting allows you to create an Agentgroup and define its members and Supervisors. Agentgroups can be organized based on specialization, skills, categories, departments, or other support requirements.
Where to Find
Go to Support → Support Agents → Agentgroups.
How It Works
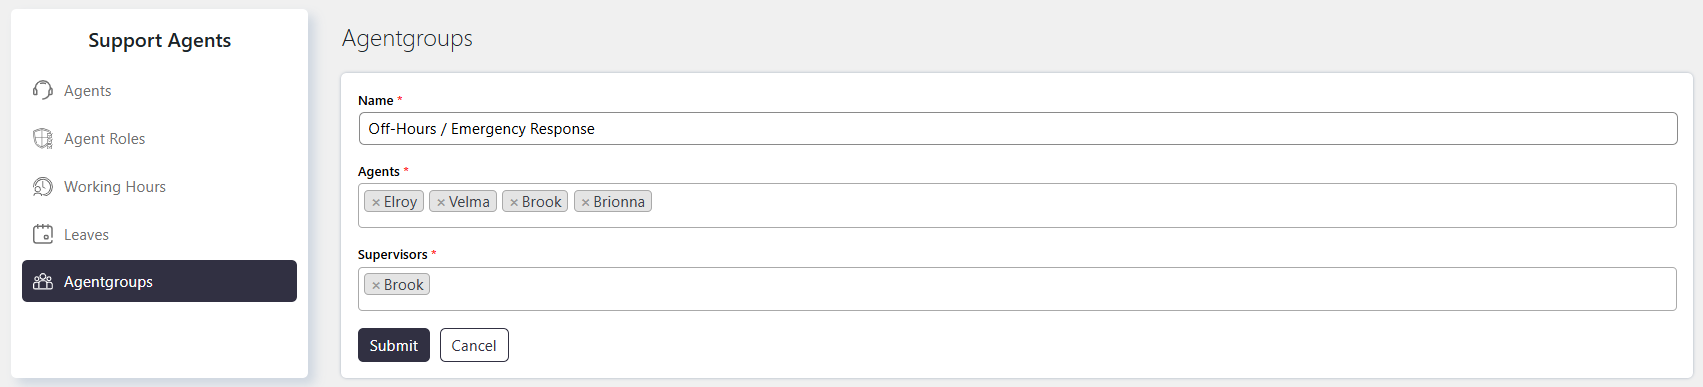
When creating an Agentgroup, you can define:
- The Name of the Agentgroup.
- The Agents who belong to the group.
- The Supervisors responsible for managing Tickets assigned to the group.
Supervisors must also be included as group members under Agents.
Step-by-Step Guide
- Go to Support → Support Agents → Agentgroups.
- Click Add New.
- Enter the Agentgroup Name.
- Select the required Agents.
- Select the required Supervisors from the group members.
- Submit the to save Agentgroup.
Options / Settings
Name
Enter a name for the Agentgroup based on your support workflow. Agentgroup names can represent a category, department, skill, specialization, or other team classification.
Example: Technical Support, Sales, Billing, or Customer Success.
Agents
Select the Support Agents who will be members of the Agentgroup.
Supervisors must also be included as members of the Agentgroup.
Supervisors
Select the members who will act as Supervisors for the Agentgroup.
Supervisors must already be included in Agents. You can select all group members as Supervisors if required.
Example
For a technical support team, you can create an Agentgroup named Technical Support, add the required technical Support Agents under Agents, and select one or more experienced members as Supervisors.
Notes / Tips
- Supervisors must also be selected as Agents.
- You can assign multiple Agents to an Agentgroup.
- You can select multiple Supervisors for the same Agentgroup.