The Workflow feature in SupportCandy helps you automate and simplify ticket management. Workflows are sets of rules and actions that are performed automatically or manually to make your support process faster and more efficient.
Types of Workflow
-
Automatic Workflow
-
This type runs automatically based on triggers and conditions you set.
-
How It Works:
- Choose a Trigger: A trigger is an event that starts the workflow. For example, when a ticket is created, a reply is added, the status changes, or a custom field is updated.
- Set a Condition: Define when the workflow should run by adding rules. For example, “Category equals ‘Technical Support'”.
- Add Actions: Decide what the workflow will do, such as adding a reply, changing the ticket status, assigning it to an agent, or updating a ticket property.
-
Once everything is set up, the workflow will automatically perform the actions whenever the conditions are met.
-
-
Manual Workflow
-
This type is triggered manually by a user with permission.
-
How It Works:
- Set Conditions: Define the rules for the workflow, such as “Priority equals ‘High'” or “Category is ‘Billing'”.
- Add Actions: Decide what the workflow should do, such as assigning the ticket or changing its status.
- Save the workflow.
-
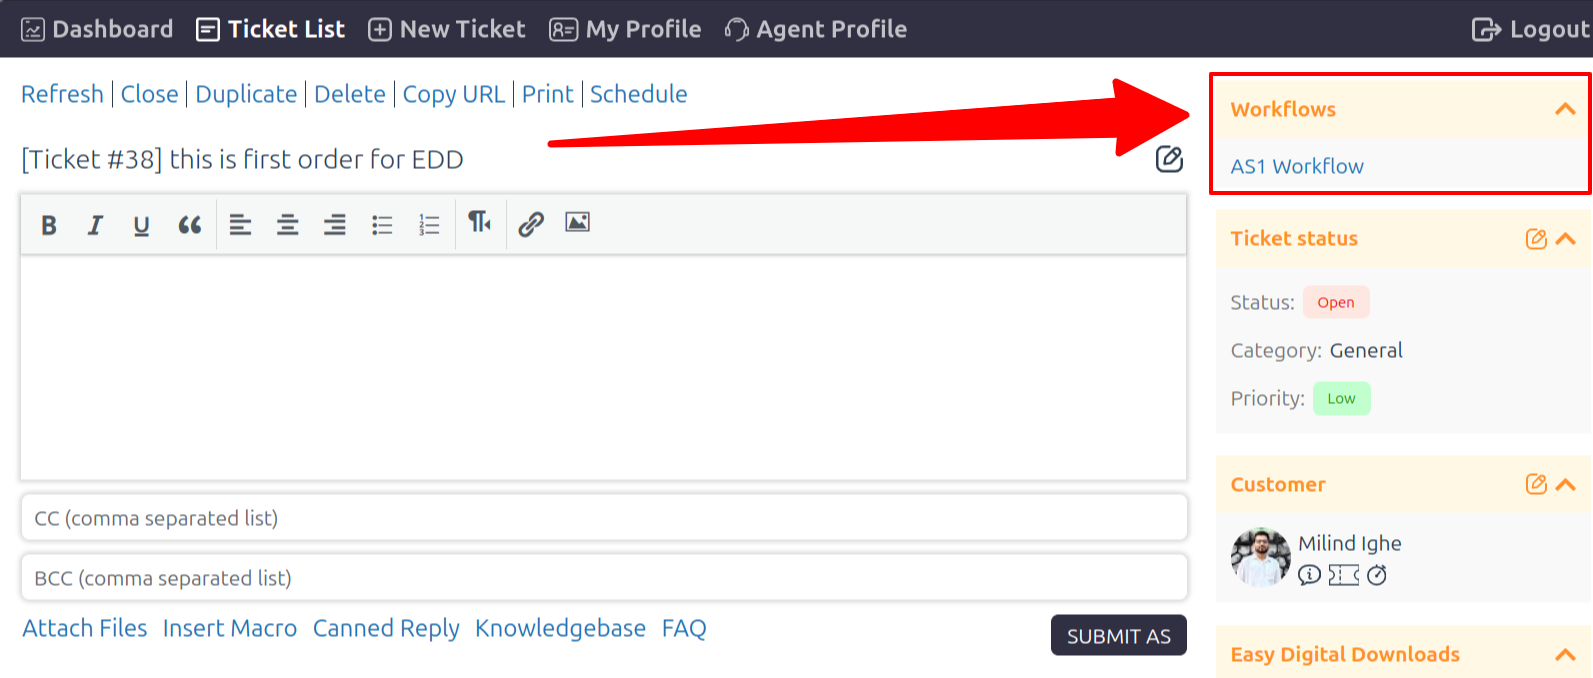
Users with permission will see a Workflow Widget on the ticket page.
-
If the conditions are met, users can click to trigger the workflow, and the set actions will be performed.
-
Widget
You can enable or disable the widget from Support → Settings → Ticket Widgets → Workflow
This widget will be visible only if you have any manual workflows.
Trigger Workflow Permission
You can grant or restrict the permission to trigger the workflow from Support → Support Agents → Agent Role → Edit → Trigger Workflow