SupportCandy provides a versatile ticketing system that allows administrators to prioritize tickets based on urgency, ensuring effective management and resolution. This priority feature includes default priorities (High, Medium, Low) and the flexibility to create unlimited custom priorities. Admins, support agents, and users can assign priorities during ticket creation, with the default set to “Low.” Below is a comprehensive guide on managing ticket priorities within SupportCandy:
Managing Ticket Priorities
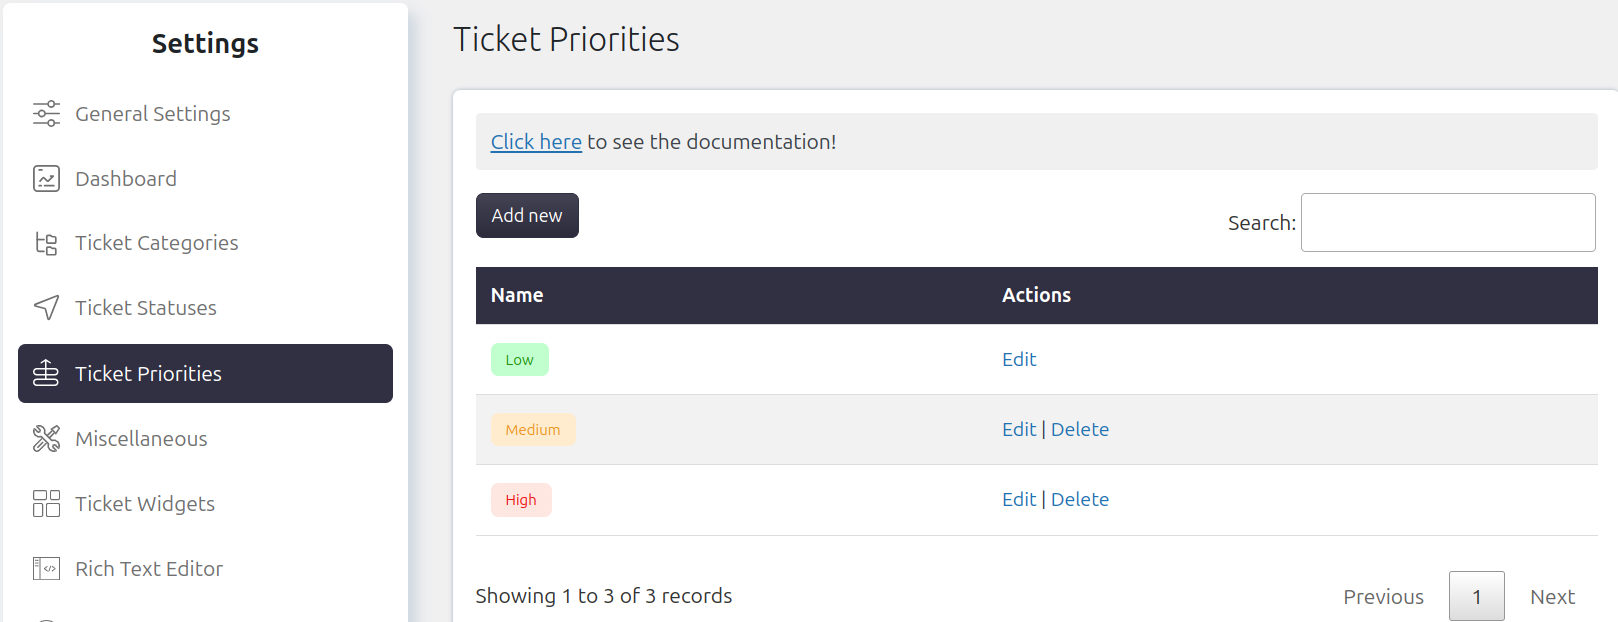
Creating a New Priority
-
- Navigate to Support → Settings → Ticket Priorities.
- Click on “Add New Priority.”
- Specify a name for the new priority.
- Choose a color pattern for visual identification.
- Save the settings.
Now, you have successfully created a new custom ticket priority.
Editing or Deleting a Priority
Administrators have the authority to modify or remove priorities as needed.
Edit Priority:
-
- Locate the priority you wish to edit.
- Click on the “Edit” option.
- Make the necessary adjustments.
- Save the updated information.
Delete Priority:
-
- Find the priority you want to delete.
- Click on the “Delete” option.
- Confirm the deletion when prompted.
- Select a replacement priority, as the deleted priority will be reassigned to tickets using it.
Applying Priorities to Tickets
Default Priority
When creating a ticket, the default priority is set to “Low.” However, users/admins/Support Agents can choose a different priority during ticket creation if the priority field is added to the ticket form. You can add the priority field to the ticket form from Support > Custom Fields > Ticket Form Fields > Add New > Select Priority.
However, Admins can choose a default priority from Support > Custom Fields > Ticket Fields > Priority > Edit > Select Default field > Submit.
Priority Change After Ticket Creation
Admins and support agents can change the priority of a ticket after creation to adapt to evolving circumstances.
Managing Priority Visibility
Agent and User View
-
- Admins and support agents can view the priority on the individual ticket page.
- Customers cannot change the priority after creating the ticket. You can enable the widget for customers from Support > Settings > Ticket Widgets > Ticket Status > Show Priority to customer > Enable.
Widget Configuration
To enable the priority widget on the individual ticket page:
-
- Navigate to Support → Settings → Ticket Widgets.
- Enable the “Ticket Priority” widget.
- Set permissions under “Allow for roles.”
Now, users, agents, and admins can easily track and manage ticket priorities through the intuitive SupportCandy interface. This customization ensures a seamless and efficient ticketing experience tailored to your requirements.