
Overview
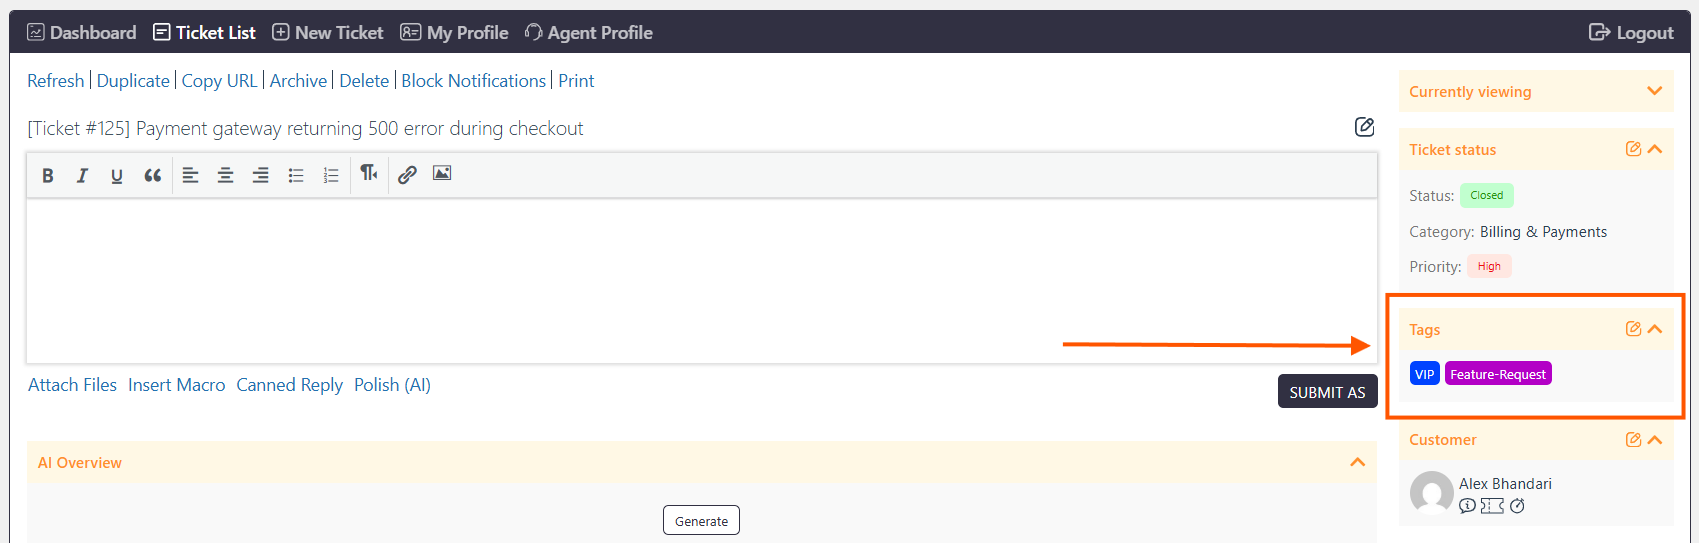
The Tags Widget allows users to view and manage tags directly from the individual ticket page. Administrators can enable the widget and control which agent roles can access it.
Where to Find
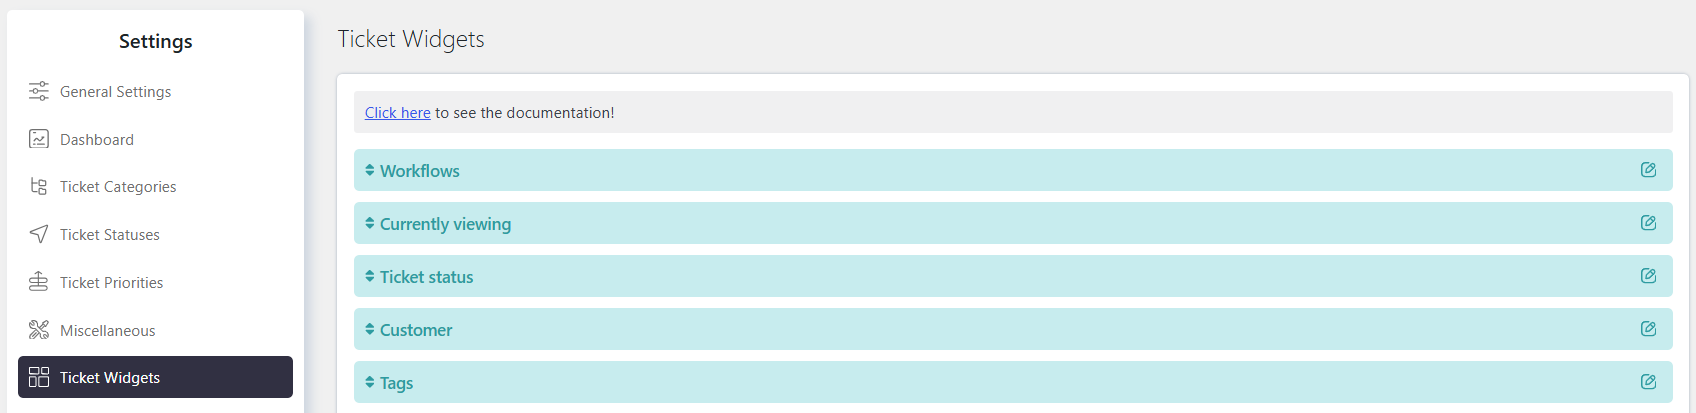
Go to Support → Settings → Ticket Widgets → Tags.
How It Works
Once the Tags Widget is enabled, it is available on the individual ticket page.
Agents can use the widget to:
- Search for and add an existing tag to the ticket.
- Create a new tag directly from the widget and automatically add it to the ticket.
Step-by-Step Guide
- Go to Support → Settings → Ticket Widgets → Ticket Tags.
- Enable the Tags Widget.
- Configure the Allowed agent roles who can access the widget.
- Save the settings.
- Open an individual ticket to access the Tags Widget.
Options / Settings
Enable Tag Widget
Enable this option to display the tag widget on the individual ticket page.
Allowed agent roles
Select which agent roles can view and access the tag widget on the individual ticket page.
Adding a New tag from the Tag Widget
To add an existing tag:
- Open the individual ticket page.
- Open the Tags Widget.
- Search for the tag by entering its title.
- Select the required tag to add it to the ticket.
Creating a New tag from the Tag Widget
You can create a new tag directly from the Tags Widget:
- Open the individual ticket page.
- Enter the title of the new tag.
- Add the tag to the list.
- The newly created tag is automatically added to the ticket.
Example
If you need to add an existing Payment tag to a ticket, search for Payment in the Tags Widget and select it.
If the required tag does not exist, enter its title and add it to the list. The new tag will be created and automatically assigned to the ticket.
Notes / Tips
- Enable the Tags Widget before using it on individual ticket pages.
- Use Allowed agent roles to control which agents can access the widget.
- Existing tags can be added by searching their title.
- Tags created directly from the widget are automatically added to the current ticket.