
Overview
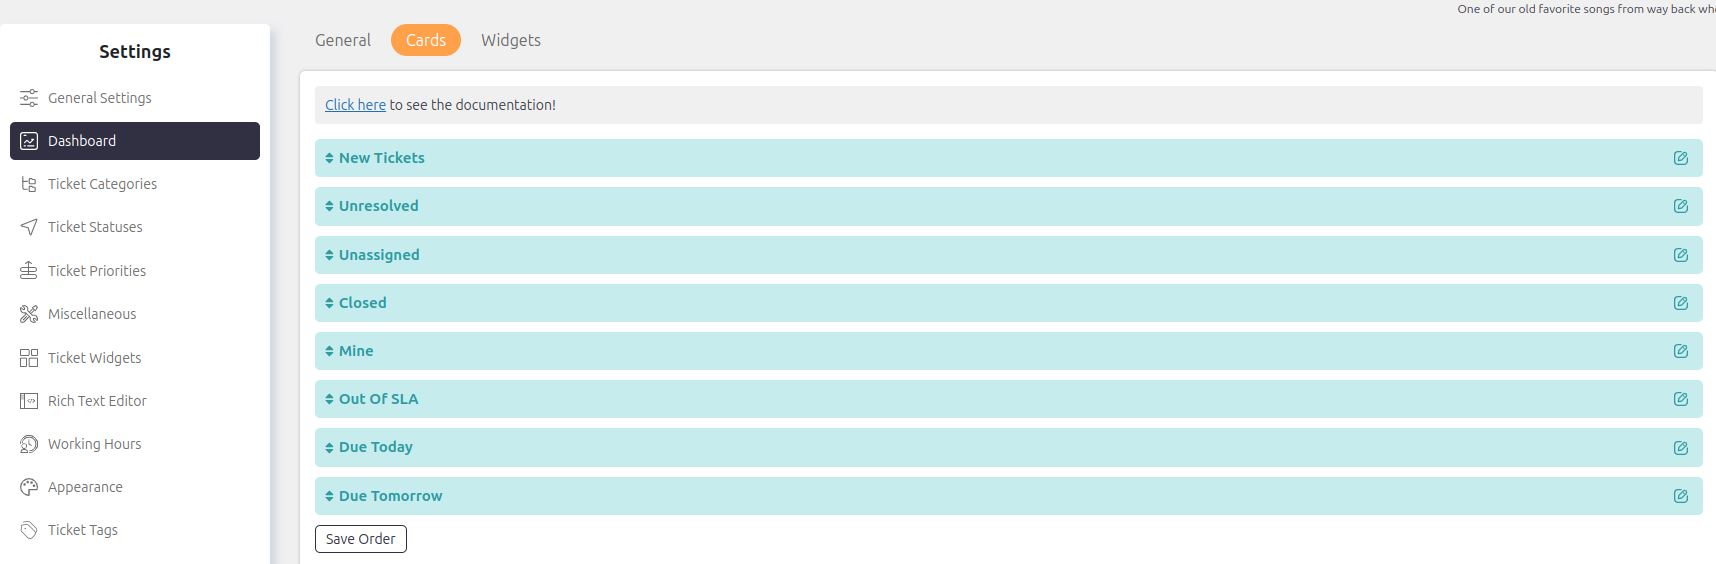
Dashboard Cards provide a quick summary of important ticket metrics, helping support agents monitor their workload and prioritize tickets that require immediate attention.
Each card displays the number of tickets in a specific category. Clicking a card automatically applies the corresponding filter to the ticket list, making it easy to view and manage those tickets.
Where to Find
Go to: Support →Settings → Dashboard
How It Works
Each Dashboard Card represents a specific ticket category or SLA status. The displayed counts are updated based on the current ticket data.
When you click a card, SupportCandy opens the ticket list with the appropriate filter already applied, allowing you to work on the selected group of tickets immediately.
Dashboard Cards
Step-by-Step Guide
- Go to SupportCandy → Dashboard.
- Review the Dashboard Cards displayed at the top of the page.
- Click any card to open the corresponding filtered ticket list.
- Manage the displayed tickets as needed.
Options / Settings
WordPress Users: Select one or more existing WordPress users that you want to add as support agents.
Agent Role: Choose the role to assign to the selected users. The assigned role determines the permissions and capabilities available to the agent.
Example
Suppose you hire a new support executive named John.
- Create a WordPress user account for John.
- Go to Support → Support Agents → Agents.
- Add John as a support agent.
- Assign the Support Agent role.
John can now log in and manage tickets according to the permissions assigned to that role.
Notes / Tips
- Dashboard Cards display real-time ticket counts.
- Clicking a card automatically filters the ticket list.
- Use the Mine card to quickly view tickets assigned to you.
- Regularly monitor the Out of SLA, Due Today, and Due Tomorrow cards to help meet SLA commitments.