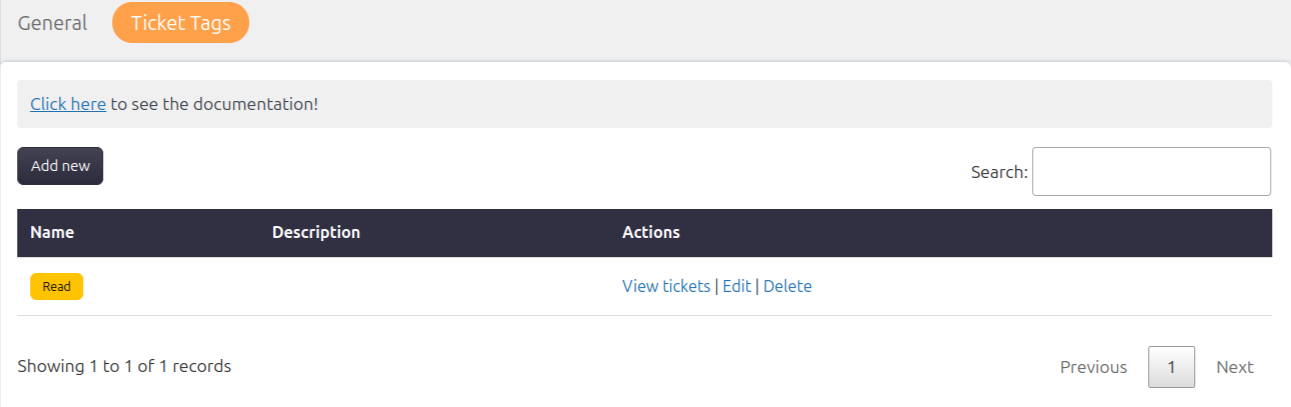
Support → Settings → Ticket Tags
Add New Tag
To add a new tag, follow these steps:
- Go to Support → Settings → Ticket Tags.
- Look for an option to “Add New”.
- Provide a name and optional description for the new tag.
- Select the background and text color.
- Click the “Submit” button to create the new tag.
Edit Tag
To update or edit an existing tag, follow these steps:
- Go to Support → Settings → Ticket Tags.
- Find the tag you want to update in the list of existing tags.
- Select the tag and look for an “Edit”.
- Modify the tag’s name, description, or color as needed.
- Click the “Submit” button to save your changes.
Delete Tag
To delete a tag, follow these steps:
- Go to Support → Settings → Ticket Tags.
- Locate the tag you wish to delete in the list of existing tags.
- Select the tag and find the “Delete”.
- Confirm the deletion when prompted.
View Tickets
To view all the tickets associated with a particular tag, follow these steps:
- Go to Support → Settings → Ticket Tags.
- Find the tag you are interested in within the list of existing tags.
- Select the tag and look for an option to “View Tickets”.
- You will be presented with a list of all the tickets that have been tagged with the selected tag.