Support → Settings → Gravity Forms
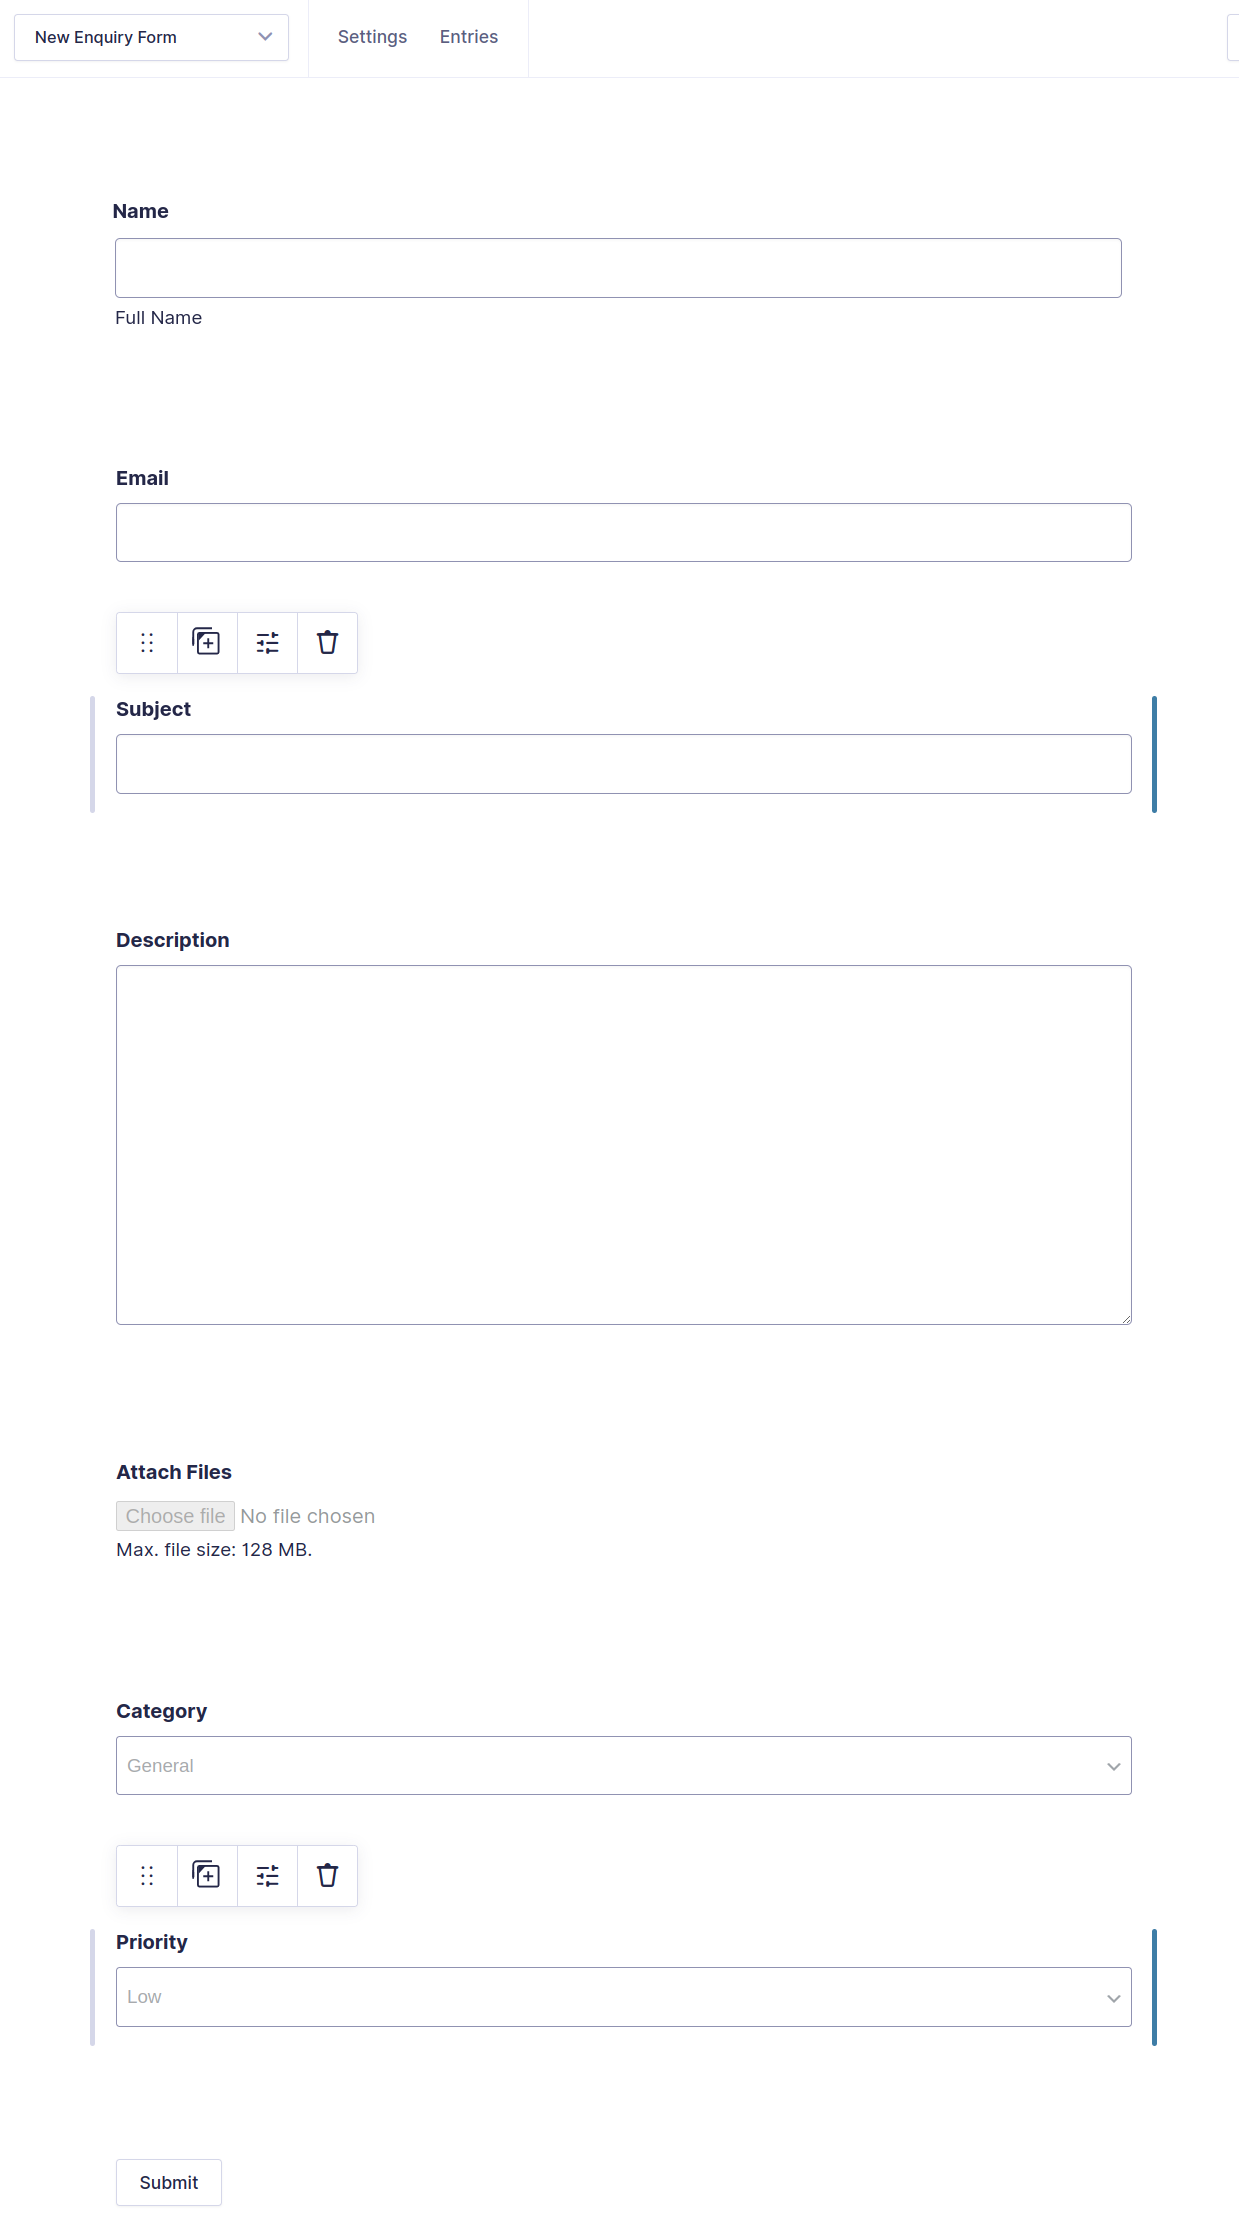
Using gravity form, you can create a new ticket in SupportCandy. For this, you need to create a form in Gravity form and mapped it with SupportCandy with the help of the SupportCandy Gravity form integration add-on.
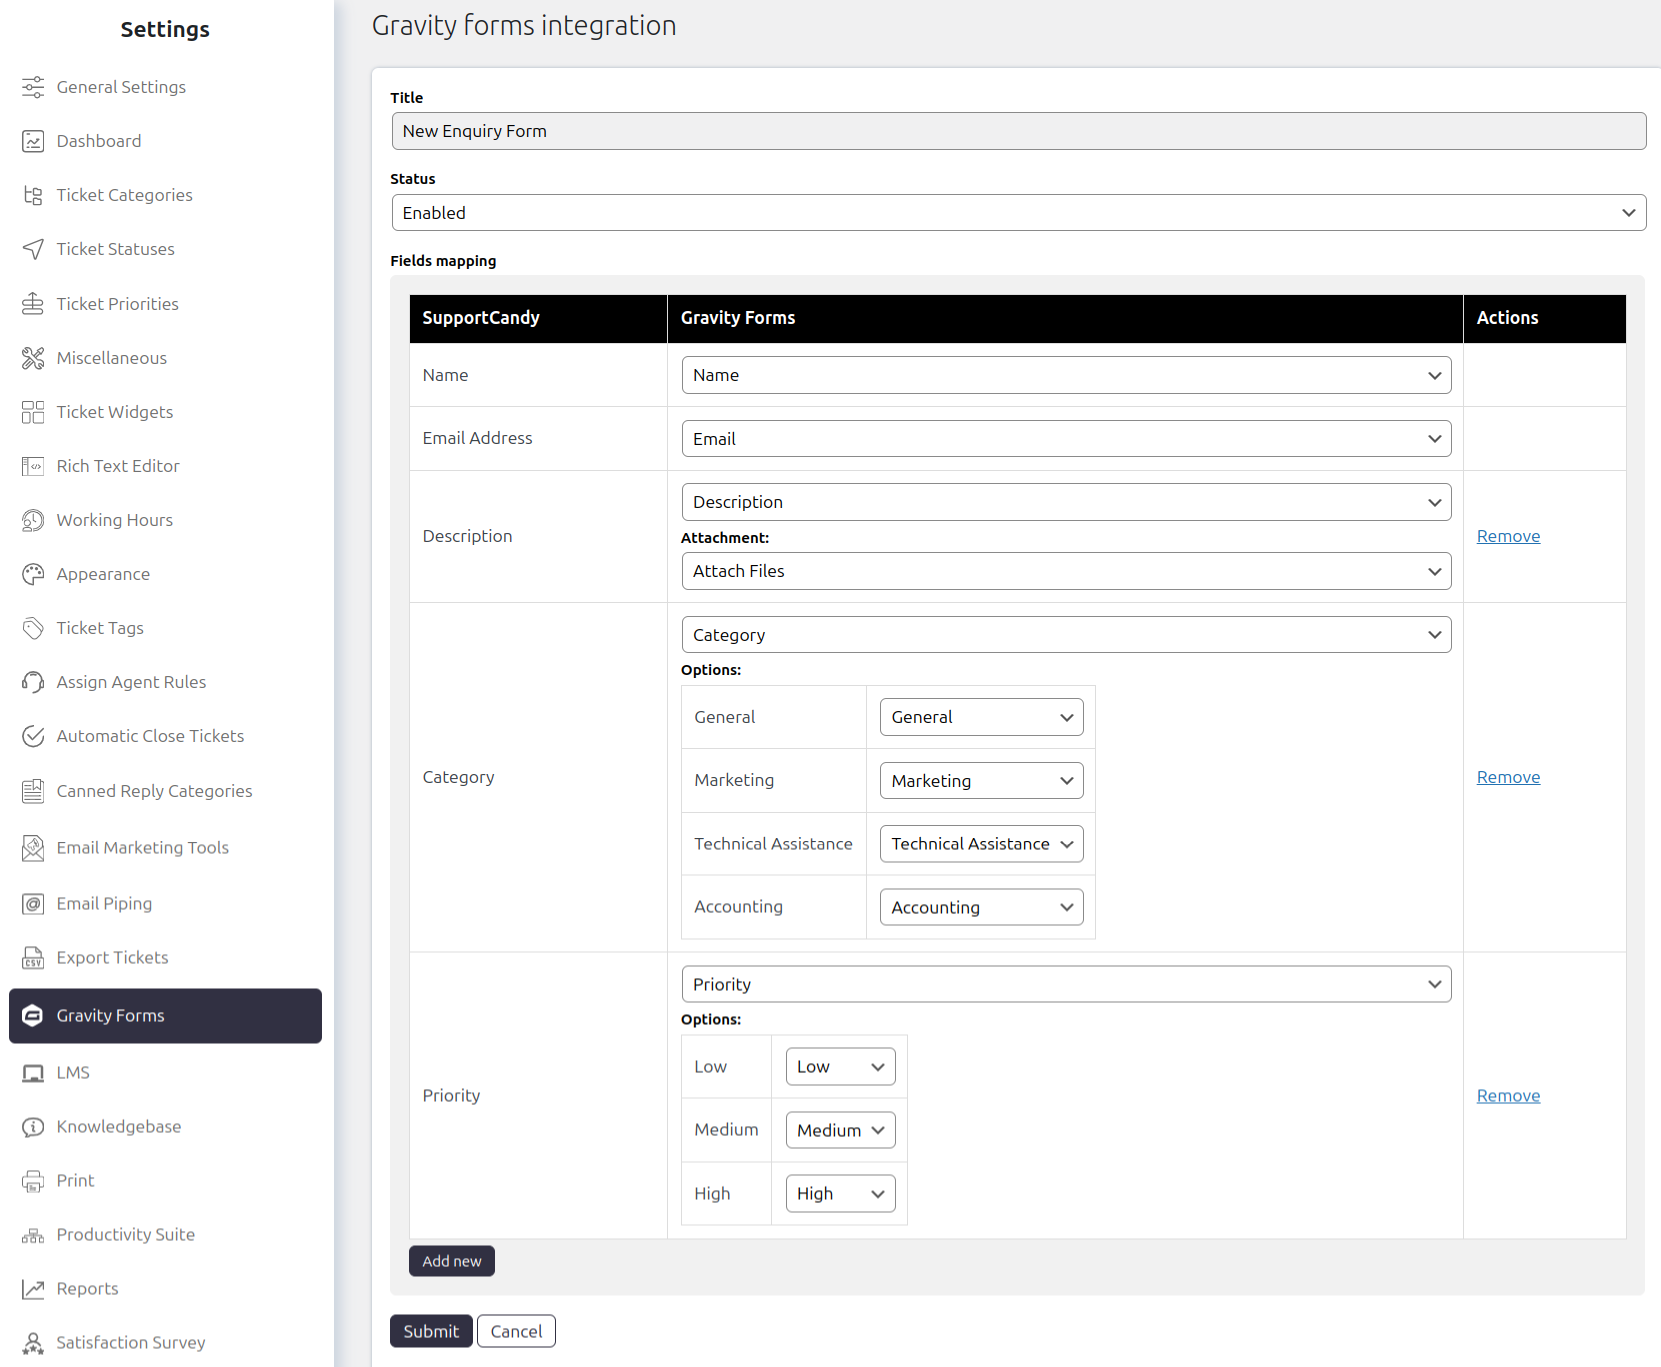
Add mapping
Once you create a new gravity form, you can select it while creating a new mapping. Select the required form and start mapping the fields with SupportCandy fields.
Whenever the user submits a form, a new ticket will be created and field values are taken as per mapping in the integration settings.
Gravity Form
Mapping
Allowed Field Mapping
Here are allowed field mapping that can be used while creating the new mapping. For Example, you have the SupportCandy field having a field type checkbox so this field can be mapped with the gravity form field type checkbox, multi-select, select, and hidden.
- Checkbox: Checkbox, Multiselect, Select, Hidden
- Date: Date, Hidden
- DateTime : Date, Hidden
- Email: Email, Hidden
- File attachment multiple: File Upload
- File attachment single: File Upload
- Multi-select: Checkbox, Multiselect, Select, Hidden
- Number: Number, Hidden
- Radio button: Radio, Select, Hidden
- Single select: Select, Hidden, Radio
- Text area: Textarea, Name, Text, Email, Number, Hidden, Date, Time, Phone, Website, Address
- Text field: Name, Text, Email, Number, Hidden, Date, Time, Phone, Website
- Time: Time, Hidden
- Url: Website, Hidden
- Add Recipient: Email
- Category: Select, Hidden, Radio
- Customer email: Email, Hidden
- Customer name: Name, Text, Hidden
- Description: Textarea, Name, Text, Email, Number, Hidden, Date, Time, Phone, Website, Address
- Priority: Select, Hidden, Radio
- Status: Select, Hidden, Radio
- Subject: Name, Text, Email, Number, Hidden, Date, Time, Phone, Website
Available Fields for Mapping
The below fields from the Gravity form can be mapped with SupportCandy fields. The fields that are not listed in the below list can be mapped with custom code on request as paid customization.
- Single Line Text
- Paragraph Text
- Drop Down
- Number
- Check Boxes
- Radio Buttons
- Hidden
- Name
- Date
- Time
- Phone Address
- Website
- File Upload
- Captcha
- List Multiselect
- Consent