
Overview
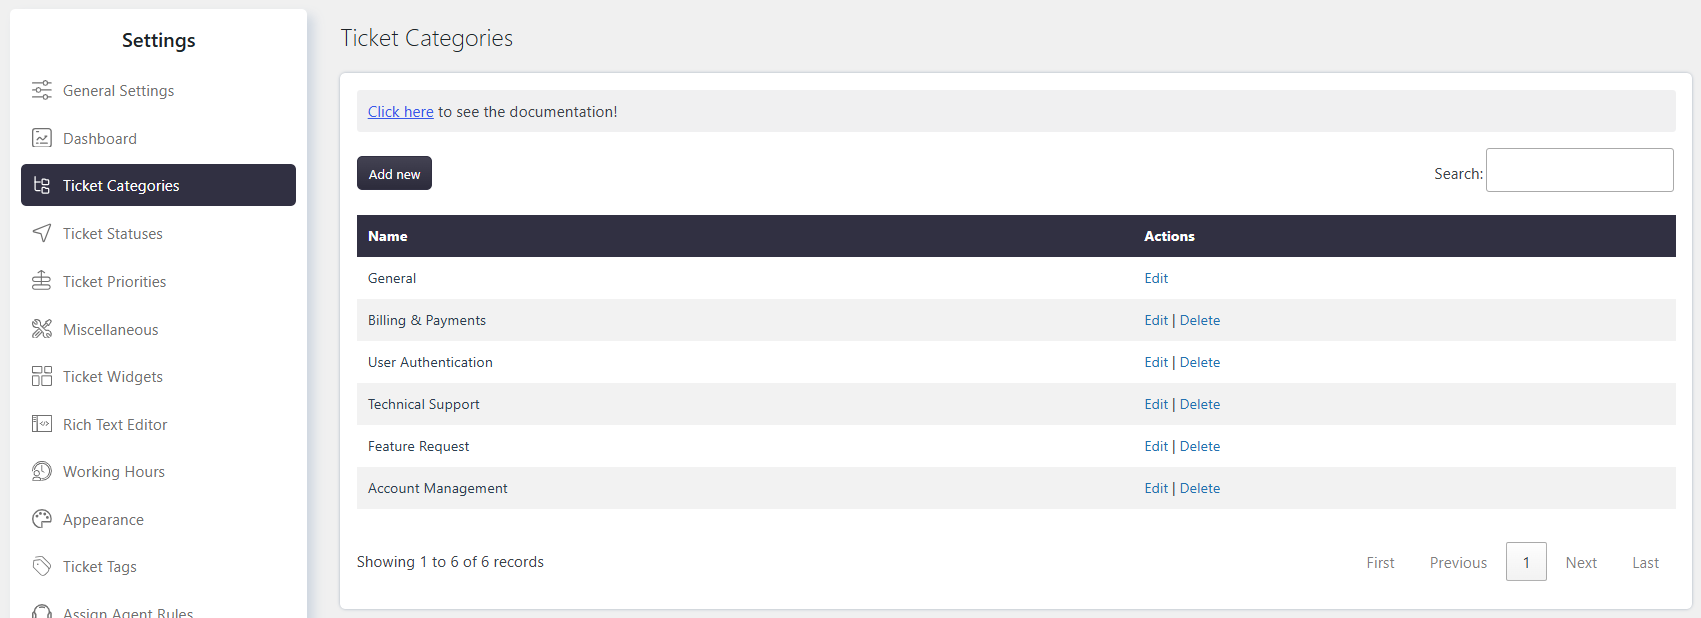
Ticket Categories allow you to organize tickets based on their nature or type.
Categories help Agents and Customers classify tickets, making tickets easier to organize and handle.
Where to Find
Go to Support → Settings → Ticket Categories.
How It Works
Administrators can create, edit, and delete ticket categories.
After creating a category, it can be added to the ticket form so users and Agents can select a category when creating a ticket.
You can also configure the ticket page to display the selected category.
Step-by-Step Guide
Create a New Category
- Go to Support → Settings → Ticket Categories.
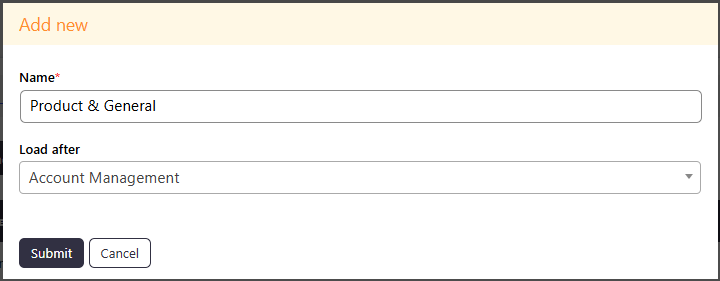
- Click Add New.
- Enter an appropriate name for the category.
- Save the settings.
The new category will appear in the category list under the Name column.
Edit a Category
- Go to Support → Settings → Ticket Categories.
- Locate the category under the Name column.
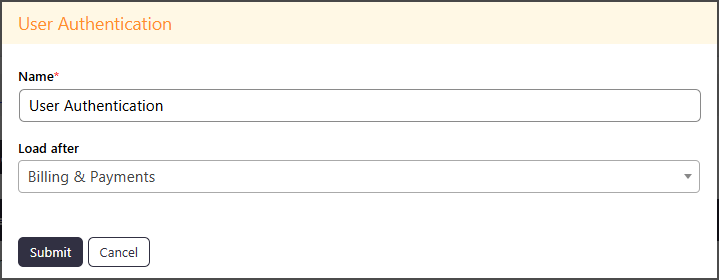
- Click Edit in the Actions column.
- Make the required changes.
- Save the updated information.
Delete a Category
- Go to Support → Settings → Ticket Categories.
- Locate the category you want to delete.
- Click Delete in the Actions column.
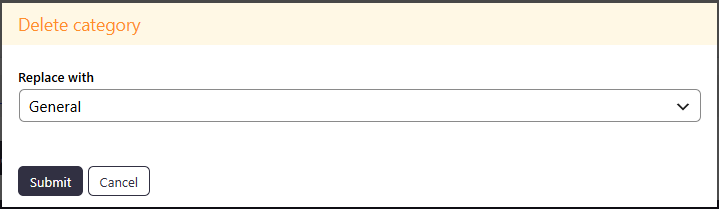
- Confirm the deletion when prompted.
- Select a replacement category.
Tickets assigned to the deleted category will automatically be transferred to the selected replacement category.
Applying categories to ticket
To allow users and agents to select a category when submitting a ticket:
- Go to Support → Custom Fields → Ticket Form Fields.
- Click Add New.
- Select the Category field.
- Set the required field sequence and visibility conditions.
- Save the settings.
The ticket creation form will then display the category selection option.
Widget Configuration
You can display the ticket category on individual ticket pages by enabling the relevant widget.
- Go to Support → Settings → Ticket Widgets.
- Under Ticket Status, allow the widget for the required roles, such as Agents or Customers.
- Save the changes.
The ticket category will then appear in the ticket details section for users with the appropriate roles.
Example
You can create categories such as Marketing, Technical Support, or Billing.
After adding the Category field to the ticket form, users can select the appropriate category when submitting a ticket.
Notes / Tips
- Create categories based on the types of issues your support team handles.
- Add the Category field to the ticket form before allowing users to select categories.
- When deleting a category, select a replacement category for its existing tickets.
- Use Ticket Widgets to display the category on the individual ticket page.