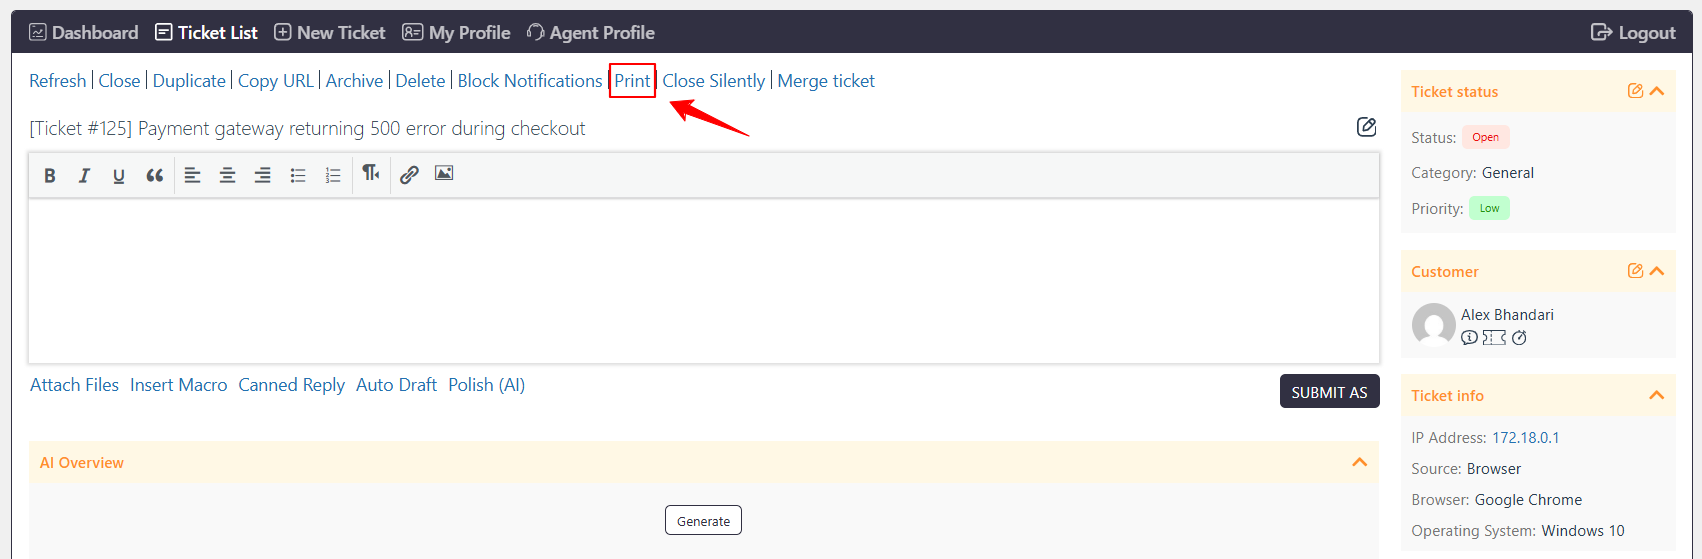
Overview
The Print settings control how Tickets are printed and how PDF files are generated.
You can control the Print button displayed after Ticket creation, allow Customers to print Tickets, and select the PDF library used to generate Ticket PDFs.
Where to Find
Go to Support → Settings → Print → General to configure the Ticket print settings.
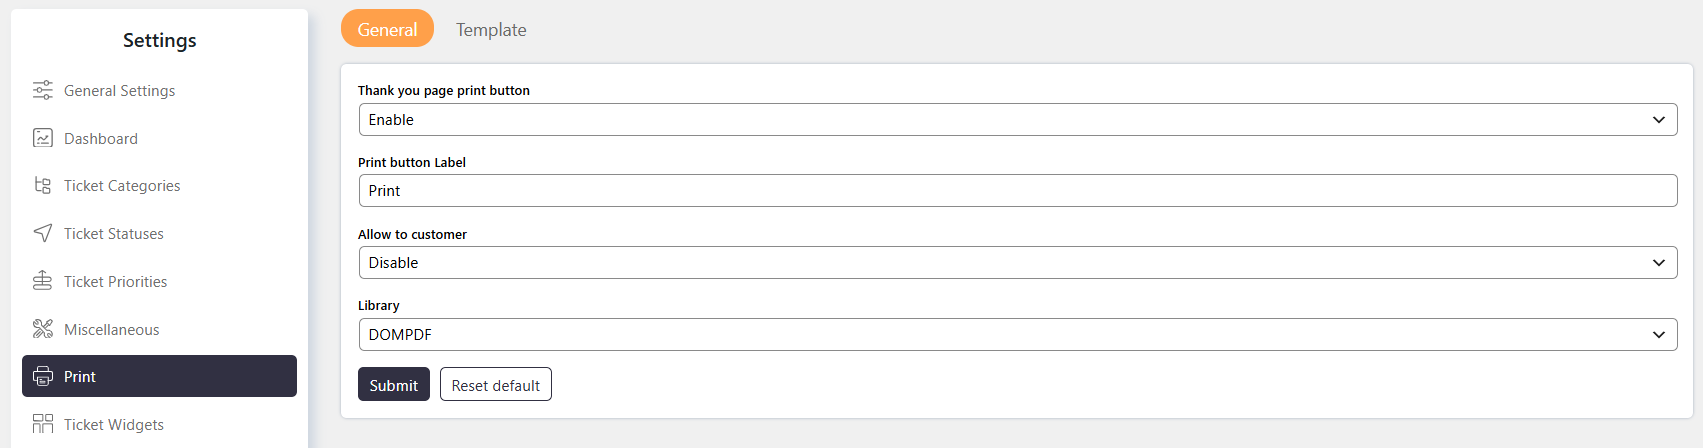
Print Settings
Thank you page print button
Enable or disable the Thank you page print button to control whether the Print option is displayed on the Thank you page after a Ticket is created.
Print button Label
Enter the text you want to display on the Print button.
Allow to customer
Enable or disable Allow to customer to control whether Customers can print Tickets from the individual Ticket page.
Library
Select the PDF library used to generate the Ticket PDF.
Available options:
- DOMPDF
- TCPDF
How It Works
The Print Ticket add-on lets agents generate a PDF of a ticket directly from the ticket’s actions on the open ticket view — clicking “Print” downloads a formatted PDF without leaving the ticket. Agents can always print, but printing is per-ticket only (there’s no bulk print from the ticket list); customers can print their own ticket too, but only if the admin enables “Allow to customer” in the addon’s General settings, and access still respects any agent-group ticket restrictions already in place. What appears in the PDF is fully template-driven from Settings → Print — by default it includes the ticket ID, category, priority, customer name/email, date created, subject, and description, all inserted via SupportCandy’s macro system, so admins can customize the header/body/footer and even add custom fields. Full conversation history and attachments aren’t included by default, and private agent notes are excluded unless an admin deliberately adds a “with notes” macro to the template — so it’s worth checking your template before assuming notes stay private.